
How To: Create a Lead Magnet on Flodesk and Squarespace

A lead magnet is a great way to attract new subscribers if you're looking to build your email list.
A lead magnet is a valuable piece of content that you offer to your audience in exchange for their email address.
We use Flodesk for all our email marketing. Flodesk is an email marketing platform that makes it easy to create and send beautiful emails, plus it’s built for non-tech people like therapists and coaches.
In this tutorial, we'll walk you through how to set up a lead magnet on Flodesk.
What’s a lead magnet?
A lead magnet is a marketing tool to encourage potential customers to provide their email addresses in exchange for a free value offer. It’s a valuable piece of content that you offer to your audience with the aim of attracting new subscribers and building your email list.
Potential lead magnets:
Free guide
E-book
Discount coupon
Free training
Guided meditation
By offering something of value for free, you can entice potential customers to share their contact information with you, which you can then use to build a relationship with them and market your products or services.
As a therapist, if you plan on growing beyond 1:1 services, your email list is the most valuable asset you have to grow.
A well-designed and promoted lead magnet can be an effective tool for growing your email list and attracting new customers to your business.
If you’d like more training on growing your email list, we recommend the following resources:
How to add your lead magnet to Flodesk
Once you’ve decided on your potential lead magnet, it’s time to add it to Flodesk. This takes a little bit of techy expertise, but don’t worry. We’re going to guide you through the process step-by-step. You’ll feel like a tech genius by the end of this process!
Step 1: Create a Form on Flodesk
The first step is creating a form to capture your audience's email addresses. A form is either a separate web page (i.e., a landing page) or a pop-up that shows on specific pages of your website.
To do this, navigate to the Forms section in your Flodesk account and click the "Create Form" button.
Choose the type of form you want to create. Flodesk offers several options, including a pop-up form, a landing page form, and an inline form. If you have a brand guide, we recommend customizing your form to match your brand color palette and font guide.
Once you've selected your form type, you can customize the design and copy to match your brand and offer. Be sure to include a clear call-to-action that explains what subscribers will get in exchange for their email address.
Here’s an example of one of our forms. We placed it specifically on a blog post about emails, so we know the people reading it are already interested in what we’re offering.

Step 2: Publish Your Form on Your Squarespace Website
This step takes a bit of techy patience, but don’t worry. We’re going to walk you through it step-by-step. You can 100% do this on your own. You will feel the most accomplished ever once you do this step!
Copy the form code: Once you've created your form, copy the form code provided by Flodesk. You can find this code by clicking on the "Embed" button at the top of the form editor. Make sure to copy the entire code snippet.
Open your Squarespace website editor: Log in to your Squarespace account and open the website editor for the site where you want to add your Flodesk form.
Add a code block: In the Squarespace editor, add a code block to the page where you want to display your Flodesk form. To do this, click on the section where you want to add the form, and then click on the "+" icon to add a new content block. Select "Code" from the block options.
Paste the form code: Once you've added the code block, paste the Flodesk form code into the block. Make sure to paste the entire code snippet.
Publish your changes: Save and publish your changes to your Squarespace website. Your Flodesk form should now be displayed on your website.

Step 3: Create a Workflow On Flodesk
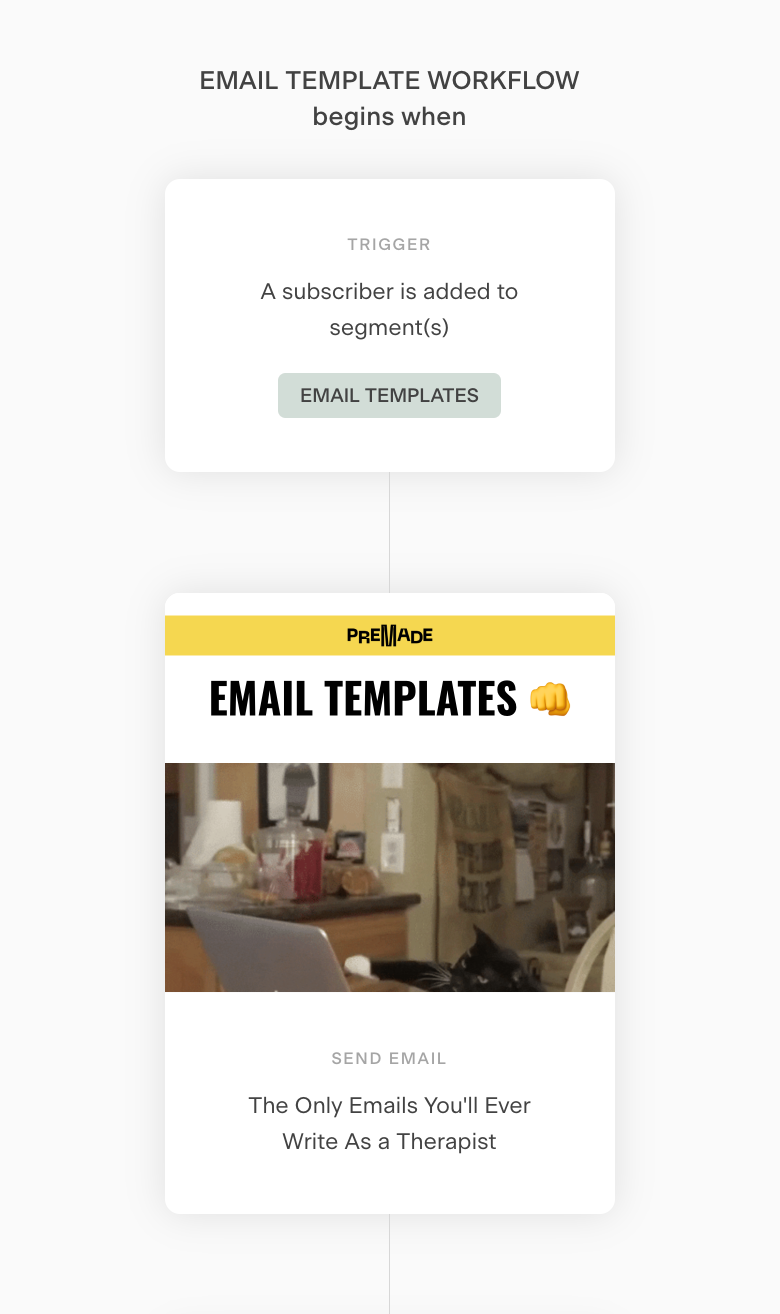
After you've created your form, you'll need to create a workflow that will deliver your lead magnet to new subscribers. To do this, navigate to the Workflows section in your Flodesk account and click the "Create Workflow" button.
Add a trigger in your workflow that will start when someone subscribes to your form. Flodesk allows you to “segment” the audience and divide the forms into different sections. If someone signs up for our “6 emails” pop-up, they are added to the “6 emails” workflow. They will get specific emails created specifically for that segment and audience.
Next, add an email that includes a link to your lead magnet. You can also customize the email design and copy to match your brand and offer.
Once you have this setup, we recommend creating an email flow that sends multiple emails to these sign-ups. But that’s a future problem! Stay focused.
Step 4: Test Your Lead Magnet
Once you've created your form and workflow, it's time to test and launch your lead magnet. Preview your form and make sure it's working properly. You can also test your workflow by subscribing to your own form and making sure you receive the email with the lead magnet.
Make sure your email looks good on both mobile view and desktop. Test all the links, spacing, branding, vibe, etc. You want it to look so good people have no choice but to continue opening your emails.
Step 5: Launch Your Lead Magnet
Finally, launch your lead magnet by promoting it to your audience. Share your juicy freebie on social media, add it to your website, and include it in your email signature. The more visibility your lead magnet gets, the more subscribers you'll attract.
Tips for Creating a Successful Lead Magnet
While the steps above will help you set up a lead magnet on Flodesk, there are a few additional tips that can help you create a lead magnet that attracts subscribers and grows your email list:
Offer Value
Your lead magnet should offer real value to your audience. This could be a free guide, e-book, or other valuable content they can't easily find elsewhere.
Make it Relevant
Your lead magnet should be relevant to your audience and their interests. Make sure your offer aligns with your target audience's needs and preferences.
Keep it Simple
Your lead magnet should be easy to access and consume. Avoid requiring too much information or making it difficult to download or access your offer.
Promote it Widely
Finally, be sure to promote your lead magnet widely. Share it on social media, include it in your email signature, and add it to your website. The more visibility your lead magnet gets, the more subscribers you'll attract.
Next Steps for Growing Your Email List
We recommend starting your email list ASAP. We LOVE Flodesk! The emails are beautifully designed, easy to use, you can segment the audience, and you get 50% off for one year with this link!